|
Photoshop Curves
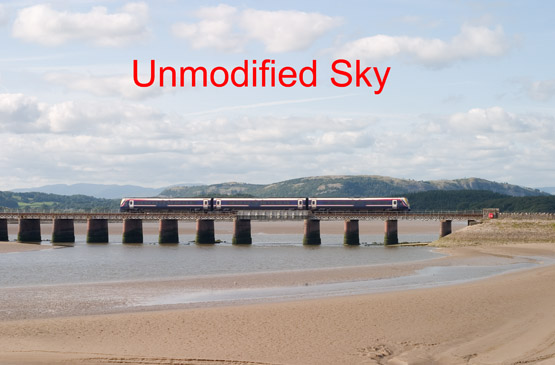
The sky darkening uses a Photoshop feature known as Curves. The two curves used have been made available here for download so that readers can experiment without having to create the curves themselves. The two curves are the:
Plain
Multiply
To use them - in full Photoshop Only, create a Curves Adjustment Layer, then use the “Load” button to load the curve file. Remember that when using the “Multiply” method the effect will not be complete until you set the “blending mode” of the layer to multiply.
Extras for Photoshop Elements
Unfortunately Photoshop Elements does not have a Curves feature. However it is possible using some extra free software created by an Australian, Paul Shipley, to add a curves feature (and some others) to Elements. This software is available for free distribution provided no charge is made and we have included a copy here.
Installation Instructions
- If Elements is already running, close it.
- Download the Zip file containing the extra tools.
- Extract them by using right click of the mouse and the “Extract All...” option
- Then each sub-folder in the hierarchy needs to be moved to its equivalent folder in the Elements hierarchy. This is shown in the two large diagrams below - where to copy the three sets of files from, and where to copy them to
- Delete the Elements cache file. To do this, display the contents of the following folder: C:\Program Files\Adobe\Photoshop Elements 2\Previews and delete the folder called “Cache”
- Restart Elements
To use tools, go to the “Effects” palette. Select the option you want and then press the Apply” button
The most useful extra tools are the “Add Layer Mask” and “create Curves Adjustment Layer”
|